DIY Pimp Up your clothes – ein kleines Upcycling für ungeliebte Kinderkleidung
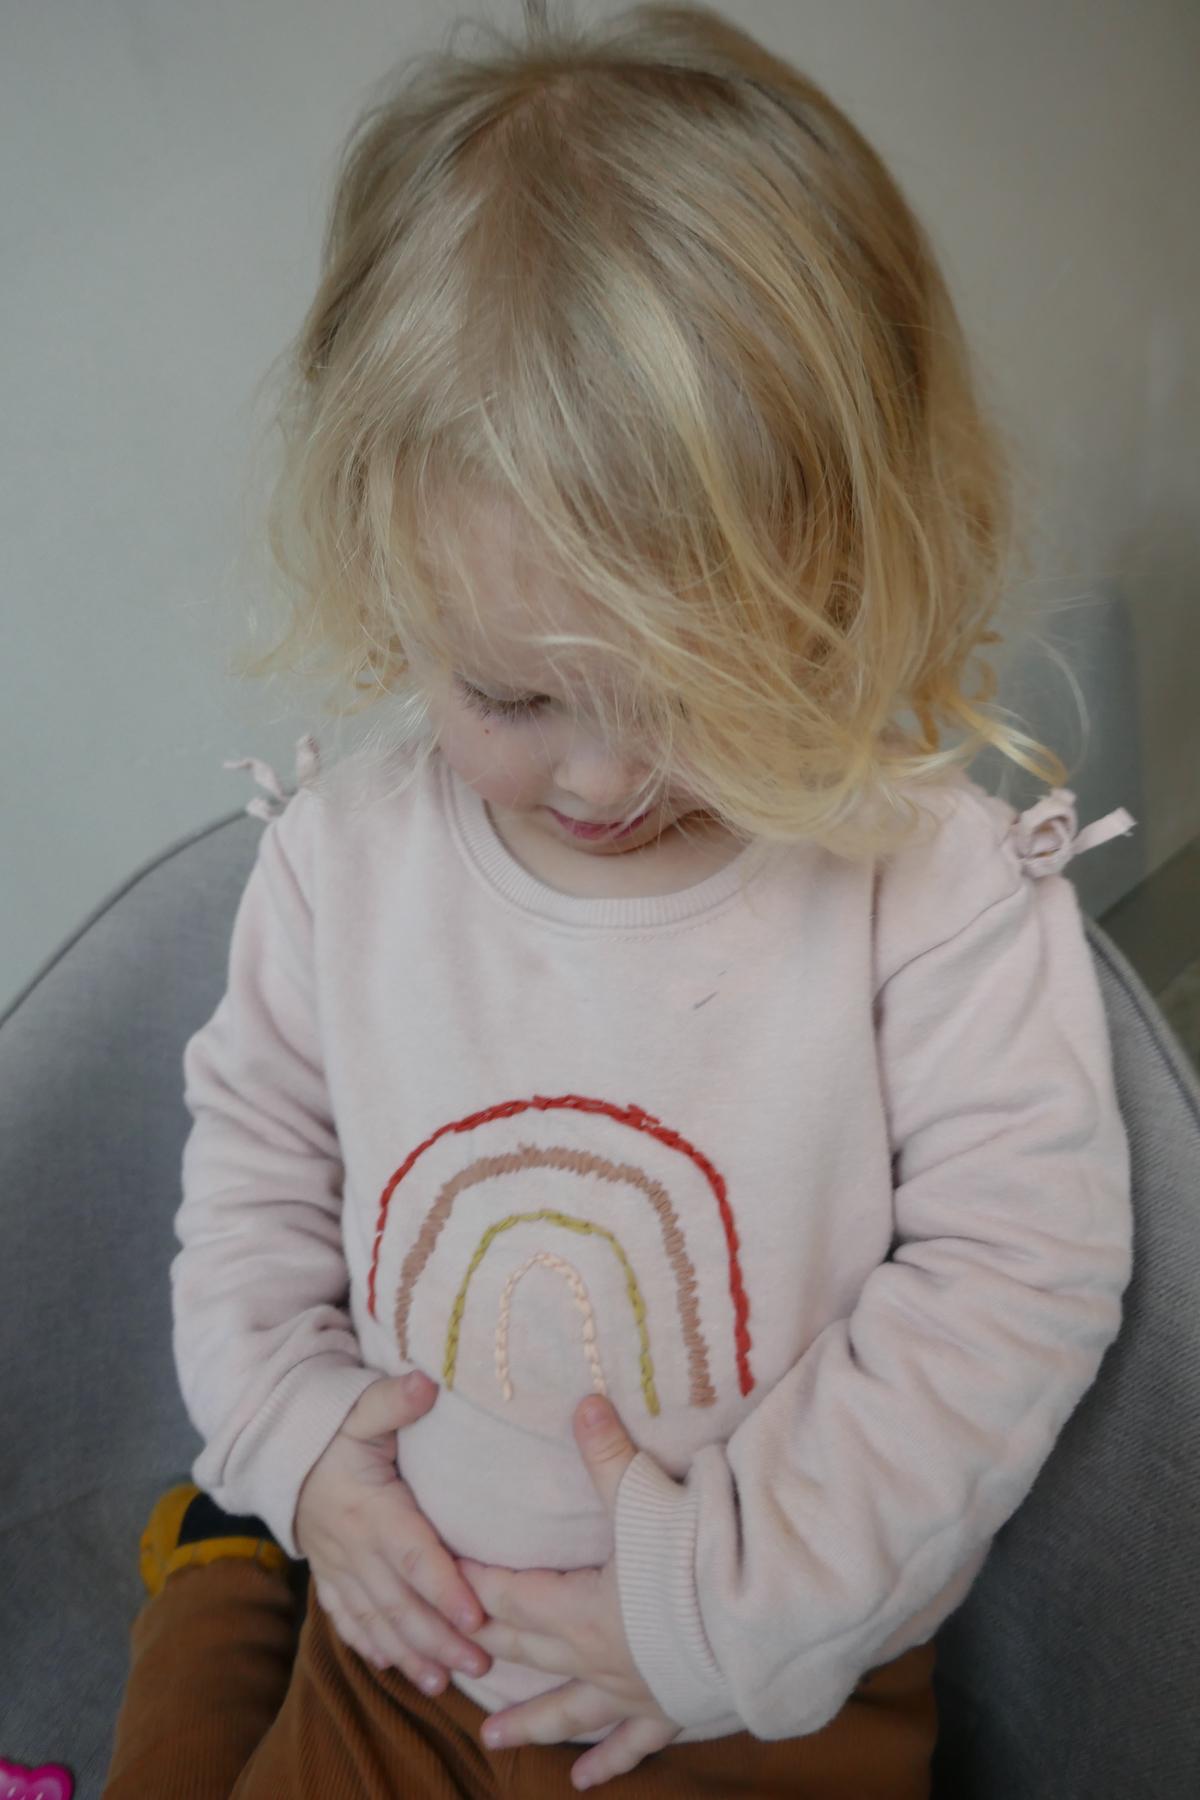
[et_pb_section fb_built=“1″ _builder_version=“3.29.3″ collapsed=“off“ fb_built=“1″ _i=“0″ _address=“0″][et_pb_row _builder_version=“3.29.3″ background_size=“initial“ background_position=“top_left“ background_repeat=“repeat“ custom_padding=“18.2969px|0px|0px|0px“ _i=“0″ _address=“0.0″][et_pb_column type=“4_4″ _builder_version=“3.25″ custom_padding=“|||“ _i=“0″ _address=“0.0.0″ custom_padding__hover=“|||“][et_pb_image src=“https://mummy-mag.de/wp-content/uploads/2020/01/Mummy-Mag-Regenbogenstickerei-7.jpeg“ align_tablet=“center“ align_last_edited=“on|desktop“ _builder_version=“3.29.3″ animation_style=“slide“ animation_direction=“left“ animation_duration=“500ms“ animation_intensity_slide=“10%“ _i=“0″ _address=“0.0.0.0″][/et_pb_image][et_pb_text admin_label=“Text“ _builder_version=“3.29.3″ _i=“1″ _address=“0.0.0.1″]Meine Mädels machen es mir wirklich einfach bei der Kleiderwahl. Sie hatten schon früh ihre ganz eigenen Vorstellungen! Mit zwei Jahren haben sie sich bereits jeden Morgen selbst ihre Kleidung herausgesucht. Dies hatte allerdings zur Folge, dass um einige Kleidungsstücke immer herumgegriffen wurde. Nun hatte ich die Idee die ungeliebten Stücke einfach etwas aufzuhübschen. Regenbögen sind bei den Kleinen momentan noch immer ein ganz großes Thema! Am liebsten hätten sie ein Regenbogen Bett, ein Regenbogen Teppich, ein Regenbogen Auto und natürlich wird alles in Regenbogenfarben ausgemalt 😉 Nun hab ich mir einfach mal einen alten Pullover geschnappt und ihn mit einem Regenbogen bestickt! Mit Erfolg!
[/et_pb_text][et_pb_text admin_label=“< MORE >“ _builder_version=“3.27.4″ text_font=“||||“ header_font=“||||“ text_font_size_tablet=“14″ text_font_size_phone=“14″ text_letter_spacing_tablet=“0px“ text_letter_spacing_phone=“0px“ text_line_height_tablet=“1.7em“ text_line_height_phone=“1.7em“ header_font_size_tablet=“30px“ header_font_size_phone=“30px“ header_letter_spacing_tablet=“0px“ header_letter_spacing_phone=“0px“ header_line_height_tablet=“1em“ header_line_height_phone=“1em“ saved_tabs=“all“ _i=“2″ _address=“0.0.0.2″] [/et_pb_text][/et_pb_column][/et_pb_row][et_pb_row column_structure=“1_2,1_2″ _builder_version=“3.29.3″ background_size=“initial“ background_position=“top_left“ background_repeat=“repeat“ custom_padding=“||0px|||“ _i=“1″ _address=“0.1″][et_pb_column type=“1_2″ _builder_version=“3.25″ custom_padding=“|||“ _i=“0″ _address=“0.1.0″ custom_padding__hover=“|||“][et_pb_image src=“https://mummy-mag.de/wp-content/uploads/2020/01/Mummy-Mag-Regenbogenstickerei.jpeg“ _builder_version=“3.29.3″ _i=“0″ _address=“0.1.0.0″][/et_pb_image][/et_pb_column][et_pb_column type=“1_2″ _builder_version=“3.25″ custom_padding=“|||“ _i=“1″ _address=“0.1.1″ custom_padding__hover=“|||“][et_pb_blurb title=“Das braucht ihr:“ image_max_width=“none“ _builder_version=“3.29.3″ body_text_align=“left“ width=“94.6%“ min_height=“299px“ custom_margin=“||-4px|||“ custom_padding=“20px|0px|0px|15px||“ border_width_all=“4px“ border_color_all=“#377749″ border_style_all=“dotted“ use_border_color=“on“ border_color=“#377749″ border_width=“4px“ border_style=“dotted“ _i=“0″ _address=“0.1.1.0″]- ein altes Kleidungsstück
- Bleistift
- Wolle / Stickgarn
- Wollnadel
- Schere
STEP 1
Im ersten Step zeichnet euch erst einmal vorsichtig euer Motiv mit Bleistift vor. Danach beginnt ihr auf der Linie mit eurer ersten Stickfarbe zu sticken.
Sticktechnik
Rückstich: Stecht im gewünschten Abstand des letzten Stichs von unten durch den Stoff und zieht den Faden durch.
Stecht nun oberhalb durch die Einstichstelle des ersten Stiches – somit bekommt ihr einen sauberen Abschluss.
[/et_pb_text][/et_pb_column][/et_pb_row][et_pb_row _builder_version=“3.25″ background_size=“initial“ background_position=“top_left“ background_repeat=“repeat“ min_height=“718px“ custom_margin=“|auto|-152px|auto||“ custom_padding=“0px|0px|0px|0px||“ _i=“4″ _address=“0.4″][et_pb_column type=“4_4″ _builder_version=“3.25″ custom_padding=“|||“ _i=“0″ _address=“0.4.0″ custom_padding__hover=“|||“][et_pb_image src=“https://mummy-mag.de/wp-content/uploads/2020/01/Mummy-Mag-Regenbogenstickerei-4.jpeg“ show_in_lightbox=“on“ align_tablet=“center“ align_last_edited=“on|desktop“ _builder_version=“3.29.3″ animation_style=“slide“ animation_direction=“left“ animation_duration=“500ms“ animation_intensity_slide=“10%“ _i=“0″ _address=“0.4.0.0″][/et_pb_image][et_pb_text _builder_version=“3.29.3″ _i=“1″ _address=“0.4.0.1″]STEP 2
Wenn ihr mit dem ersten Bogen fertig seid, verknotet ihr die Fäden auf der Rückseite und beginnt mit der nächsten Farbe. Ich habe im übrigen gewollt die Bögen etwas unsauberer gestickt. Ich mag es, wenn es nicht ganz so akkurat aussieht – aber das könnt ihr ja selbst entscheiden. Falls ihr das auch mögt, stickt ihr an einzelnen Stellen einfach noch eine zweite Reihe dazu, sodass die Bögen etwas unregelmäßiger wirken.
[/et_pb_text][/et_pb_column][/et_pb_row][et_pb_row _builder_version=“3.25″ background_size=“initial“ background_position=“top_left“ background_repeat=“repeat“ min_height=“718px“ custom_margin=“|auto|-152px|auto||“ custom_padding=“0px|0px|0px|0px||“ _i=“5″ _address=“0.5″][et_pb_column type=“4_4″ _builder_version=“3.25″ custom_padding=“|||“ _i=“0″ _address=“0.5.0″ custom_padding__hover=“|||“][et_pb_image src=“https://mummy-mag.de/wp-content/uploads/2020/01/Mummy-Mag-Regenbogenstickerei-5.jpeg“ show_in_lightbox=“on“ align_tablet=“center“ align_last_edited=“on|desktop“ _builder_version=“3.29.3″ animation_style=“slide“ animation_direction=“left“ animation_duration=“500ms“ animation_intensity_slide=“10%“ _i=“0″ _address=“0.5.0.0″][/et_pb_image][et_pb_text _builder_version=“3.29.3″ _i=“1″ _address=“0.5.0.1″]
STEP 3
Für den dritten Bogen habe ich die Stickart noch einmal geändert, um etwas Abwechslung hineinzubringen. Die Nadel rechts neben der vorgemalten Linie ausstechen und links neben die Linie führen. Dort wieder einstechen und direkt neben der letzten Ausstichstelle wieder ausstechen. Dabei die Stiche exakt nebeneinander setzen.
STEP 4
Den letzten Bogen noch einmal im Rückstich sticken und fertig!
***Viel Spaß beim Sticken***
[/et_pb_text][/et_pb_column][/et_pb_row][et_pb_row _builder_version=“3.25″ background_size=“initial“ background_position=“top_left“ background_repeat=“repeat“ _i=“10″ _address=“0.10″][et_pb_column type=“4_4″ _builder_version=“3.25″ custom_padding=“|||“ _i=“0″ _address=“0.10.0″ custom_padding__hover=“|||“][et_pb_divider divider_style=“dotted“ divider_weight=“4″ disabled_on=“on|on|off“ _builder_version=“3.2″ _i=“0″ _address=“0.10.0.0″][/et_pb_divider][et_pb_text _builder_version=“3.29.3″ _i=“1″ _address=“0.10.0.1″]
Mehr zum Thema DIY auf MUMMY MAG
[/et_pb_text][/et_pb_column][/et_pb_row][et_pb_row column_structure=“1_2,1_2″ _builder_version=“3.25″ custom_padding=“0px|0px|30px|0px“ _i=“11″ _address=“0.11″][et_pb_column type=“1_2″ _builder_version=“3.25″ custom_padding=“|||“ _i=“0″ _address=“0.11.0″ custom_padding__hover=“|||“][et_pb_image src=“https://mummy-mag.de/wp-content/uploads/2019/10/Mummy-Mag-Windeltorte-8.jpg“ url=“https://mummy-mag.de/diy-windeltorte-ein-must-have-fuer-jede-babyshowerparty/“ url_new_window=“on“ align_tablet=“center“ align_last_edited=“on|desktop“ _builder_version=“3.29.3″ animation_style=“slide“ animation_direction=“left“ animation_duration=“500ms“ animation_intensity_slide=“10%“ _i=“0″ _address=“0.11.0.0″][/et_pb_image][et_pb_text _builder_version=“3.29.3″ _i=“1″ _address=“0.11.0.1″]Bei euch steht bald die nächste Babyshower an? Dann zeige ich euch hier wie ihr schnell und ohne viel Equipment eine tolle Windeltorte zaubern könnt.
[/et_pb_text][/et_pb_column][et_pb_column type=“1_2″ _builder_version=“3.25″ custom_padding=“|||“ _i=“1″ _address=“0.11.1″ custom_padding__hover=“|||“][et_pb_image src=“https://mummy-mag.de/wp-content/uploads/2020/01/Mummy-Mag-Einladung-Ballerina-7.jpg“ url=“https://mummy-mag.de/diy-einladungskarten-fuer-den-kindergeburtstag/“ _builder_version=“3.29.3″ _i=“0″ _address=“0.11.1.0″][/et_pb_image][et_pb_text _builder_version=“3.29.3″ _i=“1″ _address=“0.11.1.1″]DIY Einladungskarten für kleine Ballerinen & Superhelden findet ihr hier.
[/et_pb_text][/et_pb_column][/et_pb_row][/et_pb_section]
